
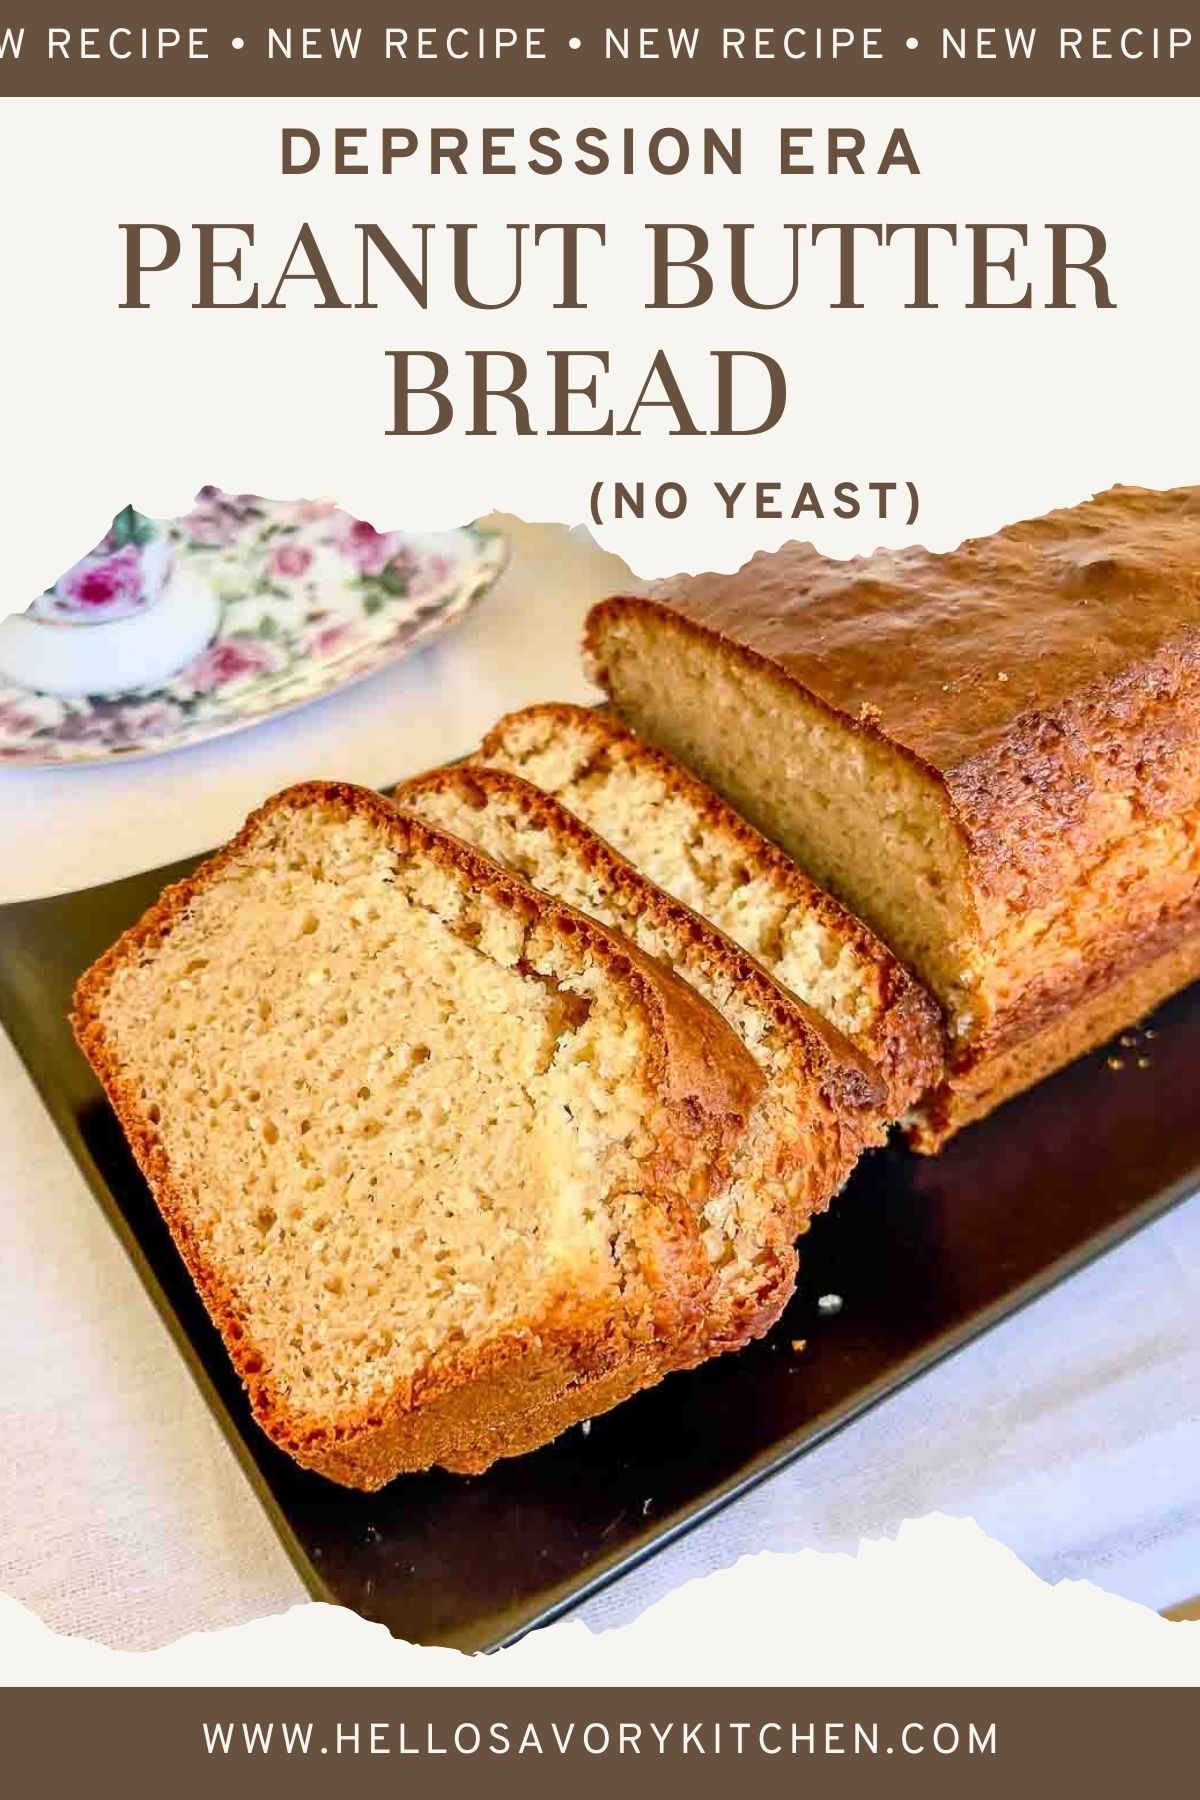
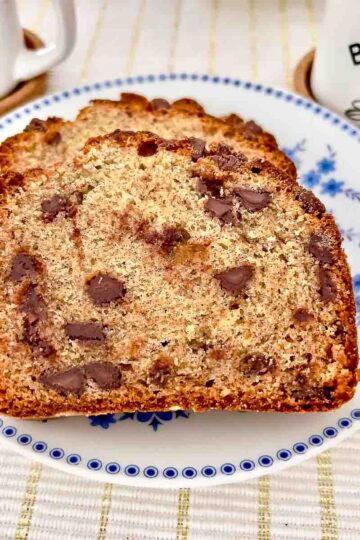
A quick bread from the Depression era made with basic ingredients and peanut butter. Delicious and easy to make.
This Peanut Butter Bread is a quick bread, meaning it doesn't require yeast or time to rise. It's straightforward to make and requires only basic ingredients you probably already have in your kitchen.

There's something undeniably comforting about baking a recipe that has stood the test of time. Today, I will take you on a delicious trip back to 1927 to explore a simple yet flavorful Peanut Butter Bread that is as delightful now as it was nearly a century ago.
We are convinced that unusual breads are very modern, but looking through old cookbooks and magazines, we realize nothing is new. Rediscovering old recipes like this peanut butter bread from 1927 lets us celebrate culinary history while savoring timeless flavors.
Whether you're a seasoned baker or just dipping your toes into baking, this recipe is both approachable and rewarding. And the best part? It tastes even better the next day.
So go ahead and give it a try! You might find a new (or should I say old) favorite to share with your family and friends.
A Brief History of Peanut Butter Bread
Peanut Butter Bread became popular during the early 20th century, particularly in the 1920s and 1930s. Recipes like this one often appeared in community cookbooks and magazines as an economical yet nourishing option. During the Great Depression, peanut butter, as an affordable source of protein, was a pantry staple in many households. Paired with simple ingredients like flour and milk, this bread provided a satisfying and budget-friendly solution for families.
This bread's nostalgia lies in its flavor and simplicity. It reminds us of a time when home baking was less about trends and more about sustenance, ingenuity, and the joy of creating something comforting from scratch.
Why You'll Love This Bread
- Simplicity: This bread comes together quickly with no need for yeast or rising time.
- Flavorful: The rich taste of peanut butter shines through.
- Versatile: Enjoy it plain, with a pat of butter, or spread with jam or honey for extra sweetness.
- Economical: Made with pantry staples, it's an affordable way to indulge in home-baked goodness.
Key Ingredients

- All-Purpose Flour, baking powder, salt, granulated sugar: These are the pillars of most quick breads.
- Peanut Butter: This ingredient brings flavor, fat, and moisture to the bread. For the best texture, go for creamy peanut butter. Natural peanut butter can be used, but make sure it's well-stirred to prevent oil separation.
- Milk: We always need a liquid to make bread, and milk is needed here. You can replace it with plant-based milk if you need to.
How To Make Peanut Butter Bread
(For full instructions, check the recipe card at the end of this article.)
Step 1. Preheat the oven and grease the loaf pan.
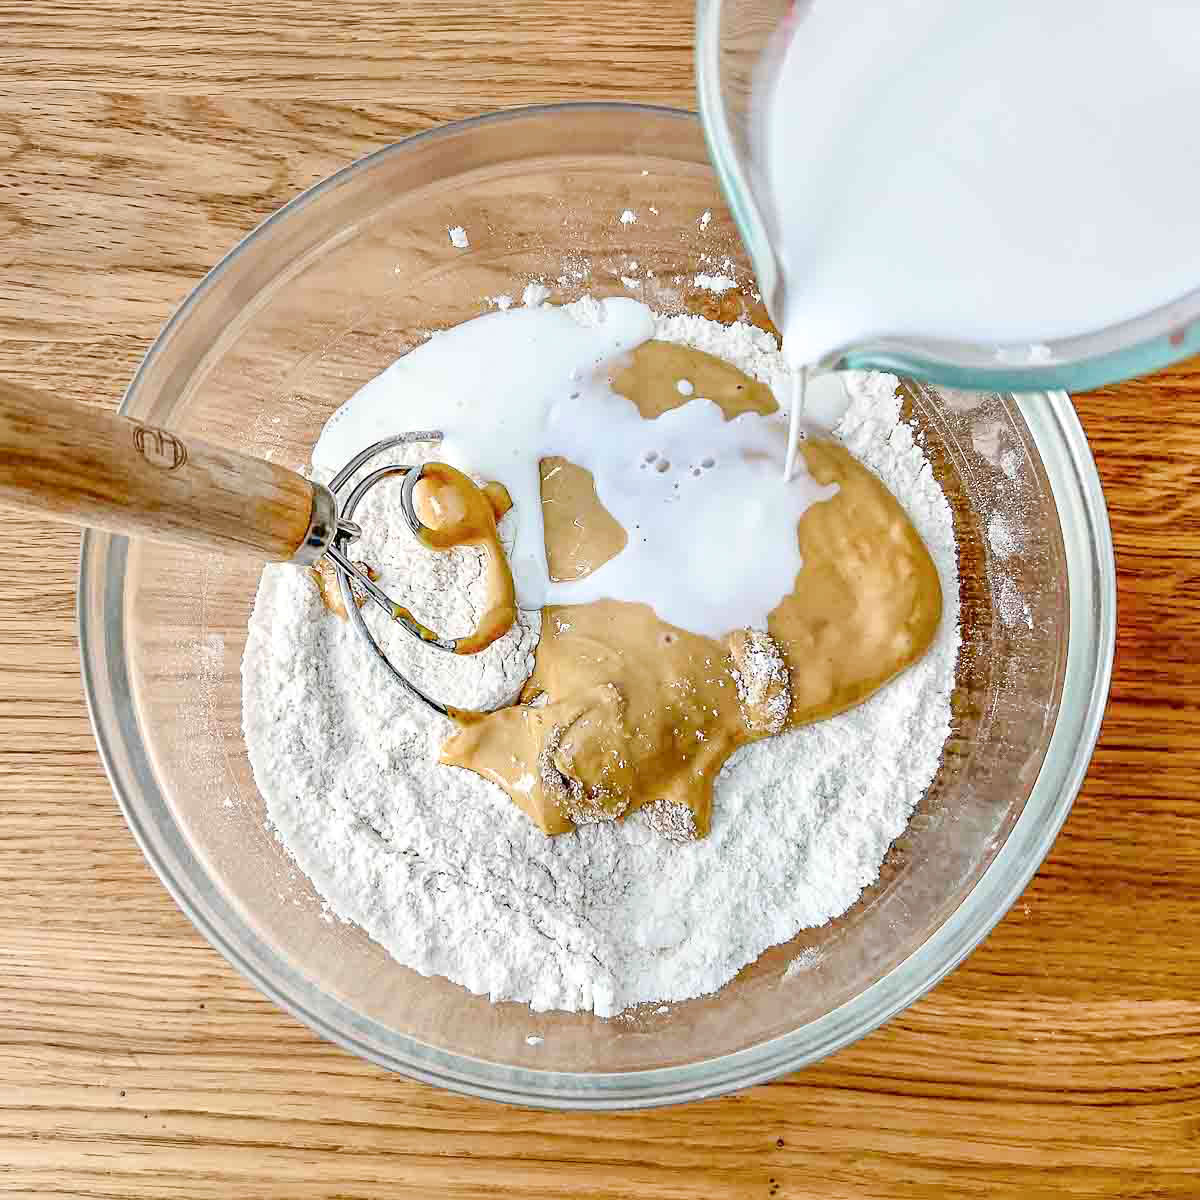
Step 2. Stir together the flour, sugar, salt and baking powder.

Step 3. Add the peanut butter and milk and beat until you have a smooth batter.


Step 4. Place the batter into the loaf pan and bake.

Baking Tips
- Don't Overmix: Overmixing the batter can lead to a dense loaf. Stir just until the dry ingredients are moistened.
- Wait Before Slicing: Allow the bread to cool completely and, if possible, wait until the next day to slice. This helps the bread set and reduces crumbliness.
- Use a Serrated Knife: When you're ready to slice, use a serrated bread knife for clean, even slices.

Serving Suggestions
This Peanut Butter Bread is versatile and pairs well with a variety of toppings. Here are some ideas:
- Spread the bread with butter and top it with strawberry or grape jelly for a nostalgic PB&J experience, with a cup of hot coffee or a glass of cold milk.
- Serve it with apple butter or molasses, common spreads from the early 20th century.
- Pair with a hearty soup or stew, as it was often enjoyed during the Great Depression.
- Toast a slice and top with sliced bananas, honey, or a drizzle of chocolate sauce.
- Use it as a base for a peanut butter bread pudding.
- Warm a slice and serve with a scoop of vanilla ice cream or a dollop of whipped cream.
- For breakfast, enjoy it toasted with a drizzle of maple syrup or scrambled eggs for a protein-packed start.
Storage Tips
Wrap the bread tightly in plastic wrap or aluminum foil and store it at room temperature for up to 3 days. Keep it in a cool, dry place away from direct sunlight. Place the wrapped bread in an airtight container for longer storage and refrigerate for up to a week. Let it come to room temperature or warm it slightly before serving.
To freeze, slice the bread and wrap each slice individually in plastic wrap, then place them in a freezer-safe bag. The bread can be frozen for up to 3 months. Thaw slices at room temperature when ready to eat or pop them in the toaster for a quick warm-up.
Pin This For Later
If you are interested in more Depression-era recipes, try this Wacky Cake.
More Quick Bread Recipes To Love
- Easy Blender Banana Bread Recipe
- Blender Whole Orange Bread
- Easy Cranberry Oatmeal Quick Bread (Sweet And Nutty)
- Pecan Coffee Quick Bread Recipe
- Banana Coconut Bread
Follow Me! Craving more? Subscribe to Hello Savory Kitchen to get new recipes and a newsletter delivered straight to your inbox! Stay in touch on Facebook, and Pinterest, for all of the latest updates. Don't forget to use the star rating and leave a review.
📖 Recipe

Depression Era Peanut Butter Bread (No Yeast)
Equipment
- Bread Loaf Pan 9.5x5 inch
Ingredients
- 2 cups all purpose flour
- ⅓ cup granulated sugar
- 4 teaspoons baking powder
- 1 teaspoon salt
- ½ cup creamy peanut butter
- 1 ½ cups milk
Instructions
- Preheat oven to 350F. Grease or cover with parchment paper a 9.5x5-inch loaf pan.
- In a large bowl, stir together the flour, sugar, salt and baking powder.
- Add the peanut butter and milk, and beat well to obtain a smooth batter.
- Spoon the batter into the loaf pan and bake for 50 minutes to an hour. To check for doneness, insert a toothpick into the center of the loaf; if it comes out clean, the bread is ready.
- Allow the bread to cool in the pan for about 10 minutes before transferring it to a wire rack to cool completely. Slice and serve as desired.
Notes
- Let the baked bread rest overnight for cleaner slices, and always use a serrated knife.
- You can freeze slices for up to a month—thaw as needed.
- Store in an airtight container at room temperature for about three days.
Lorelei says
This is an amazing loaf of bread that I really liked. I think it will go on my list of breads to make often as it is a really good recipe. Thank you!